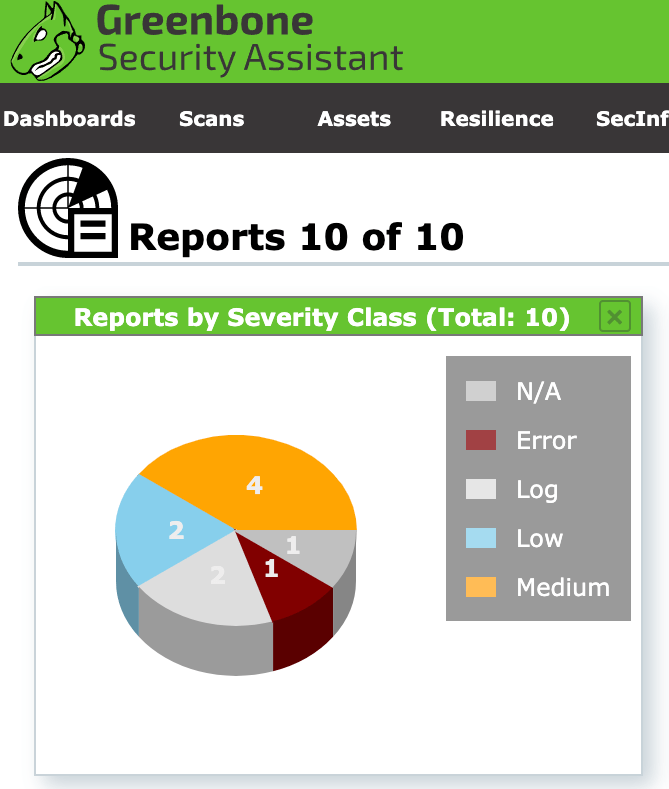
Scanning servers for vulnerabilities is important to assess security. Scans should be done regularly, especially for servers that contain sensitive customer data.
At Gorges, we chose the Greenbone Vulnerability Manager (GVM) for our solution. There are commercial and open-source Greenbone versions, and we chose the latter, specifically the Greenbone Source Edition version 20. However the open-source version has to be compiled, linked, and installed manually which can be a challenge.
First of all, kudos to Kevin Lucas for publishing an installation script. Although we could not get it to work as published, it accomplished 90% of the heavy lifting.
Hours were spent trying to get the installation script working on Ubuntu 18 and Ubuntu 20, but these attempts failed because one of the sub-packages (Greenbone Security Assistant or GSA) was failing during compilation. Switching to the Debian linux distribution solved this issue and GSA compiled.
After adding server swap space and updating all Debian packages, the GVM installation script was downloaded and executed, and the computer rebooted:
$ wget https://raw.githubusercontent.com/yu210148/gvm_install/master/install_gvm.sh
$ chmod +x install_gvm.sh
$ sudo ./install_gvm.sh
$ reboot
However the GSA process kept failing and would not execute. An investigation revealed that it was expecting a certain socket file to be present to communicate with another package, specifically the OpenVAS vulnerability assessment process. Creating a symbolic link to the actual socket file worked:
$ su - gvm
$ cd var/run
$ ln -s ospd.sock gvm.sock
$ exit
$ sudo reboot
For us the default password from the installation script did not work, but modifying it to a new password was straightforward:
$ su - gvm
$ sbin/gvmd --create-user=admin
$ sbin/gvmd --user=admin --new-password=NEW_PASSWORD
$ exit
Sendmail was installed to email the completed reports to the users. Unfortunately the emails were being labelled as spam by our email filters, so Sendmail was configured to forward the email to Sendgrid SMTP service. The instructions for modifying Sendmail are located on the Sendgrid website.
$ sudo apt-get install sendmail libsasl2-modules
$ cd /etc/mail
$ sudo vi access
  (appended the following line)
  AuthInfo:smtp.sendgrid.net "U:apikey" "P:SENDGRID_KEY" "M:PLAIN"
$ sudo vi sendmail.mc
  (add these lines within)
  define(`SMART_HOST', `smtp.sendgrid.net')dnl
  FEATURE(`access_db')dnl
  define(`RELAY_MAILER_ARGS', `TCP $h 587')dnl
  define(`ESMTP_MAILER_ARGS', `TCP $h 587')dnl
$ sudo m4 sendmail.mc > sendmail.cf
$ sudo makemap hash access < access
$ sudo service sendmail restart
The scanner was now up and running, but using a self-signed certificate for encryption. For many this is acceptable, but a proper SSL certificate is better and safer. The easiest path was to use Apache2 and LetsEncrypt with a reverse proxy.
First change the existing port from 443 to an unused port such as 9390:
$ cd /etc/systemd/system/
$ sudo vi gsa.service
  (revise to the following line)
  ExecStart=/usr/bin/sudo /opt/gvm/sbin/gsad --port=9390
$ sudo systemctl daemon-reload
$ sudo systemctl restart gsa.service
Install and configure Apache:
$ sudo apt-get install apache2
$ cd /etc/apache2/mods-enabled/
$ sudo ln -s ../mods-available/proxy.conf .
$ sudo ln -s ../mods-available/proxy.load .
$ sudo ln -s ../mods-available/proxy_http.load .
$ sudo ln -s ../mods-available/rewrite.load .
$ sudo ln -s ../mods-available/socache_shmcb.load .
$ sudo ln -s ../mods-available/ssl.conf .
$ sudo ln -s ../mods-available/ssl.load .
$ cd /etc/apache2/sites-available/
$ sudo vi 000-default.conf
  (add)
  ServerName gvm.YOURDOMAIN.COM
  ServerAdmin YOUR@EMAIL.ADDRESS
  DocumentRoot /var/www/html
  ErrorLog ${APACHE_LOG_DIR}/error.log
  CustomLog ${APACHE_LOG_DIR}/access.log combined
  SSLProxyEngine On
  SSLProxyVerify none
  SSLProxyCheckPeerCN off
  SSLProxyCheckPeerExpire off
  ProxyPass / https://127.0.0.1:9390/
  ProxyPassReverse / https://127.0.0.1:9390/

    Require all granted
    Options None

$
Open the firewall for the web services:
$ sudo ufw allow 80
$ sudo ufw allow 443
$ sudo ufw reload
Add a LetsEncrypt certificate:
$ sudo apt-get install certbot python3-certbot-apache
$ sudo certbot
  (answer certbot questions)
$ cd /etc/cron.daily/
$ sudo printf "#\!/bin/sh\ncertbot renew" > certbot
If you read the original script then there are some extra tidbits of information, such as the initial downloading of the scanning rules will take several hours.
We now have dozens of servers scheduled for automated weekly scans.

